Don't you find sea glass so pretty and colorful?? I had a container full of sea glass from recent beach visits but they weren't flat and the colors were very dull and not what I wanted to use for this project. I went to Pier1 and got 2 bags of sea glass and I knew that these would work perfectly!
Are you ready to make sea glass coasters?! These coasters are perfect for those summer backyard bbq's and they add a great pop of color.

Supplies Used:
Sea Glass - Pier 1 -$6.00ea
Ready-to-use Adhesive & Grout in 'White Sanded' - Lowes -$8.99
Wood Squares (2pack) - Michaels - $1.99
Metal Ruler used to spread the grout.
(I didn't have a trowel so I used the next best thing I could find)
Sponge - (I used a regular sponge but the grouting sponges work the best!)
Water
**cover the area you are using with a plastic/paper bag for easy clean-up

1 bag of sea glass was plenty. I made 2 Coasters and a Picture frame with one bag & still had some left over.


Put the grout on in little sections so it doesn't start to dry out.

you want to make sure there is enough grout to go half way up the sea glass


It's okay if it goes higher than the glass, you can take care of it at the end with the sponge.

see how the grout goes over some of the edges on the sea glass?
you want most if not all of the empty spaces to be covered so the glass can be secure.


after all of the wood is covered, you want to carefully place a layer of grout over the glass. I like to put mine on thick (to make sure everything is covered) and then go back and thin it out with the ruler.
**be careful with this step, the sea glass will move if pushed down hard enough**


after putting the grout on-top, let it sit for a couple minutes then wet the corner of the sponge and lightly rub/scrub the layer of grout off. It won't be completely clean the first time there will still be a dusty cover. You will have to rinse the sponge a couple of times depending on how thick you put the grout on. Don't rub inbetween the glass, you want the grout and glass to be as even as possible.

The 2 in the back are finished... the front one still needs one more rub down =]
I left the sides of mine with the wood finish, I think I might spray paint them white next time.
What do you think?
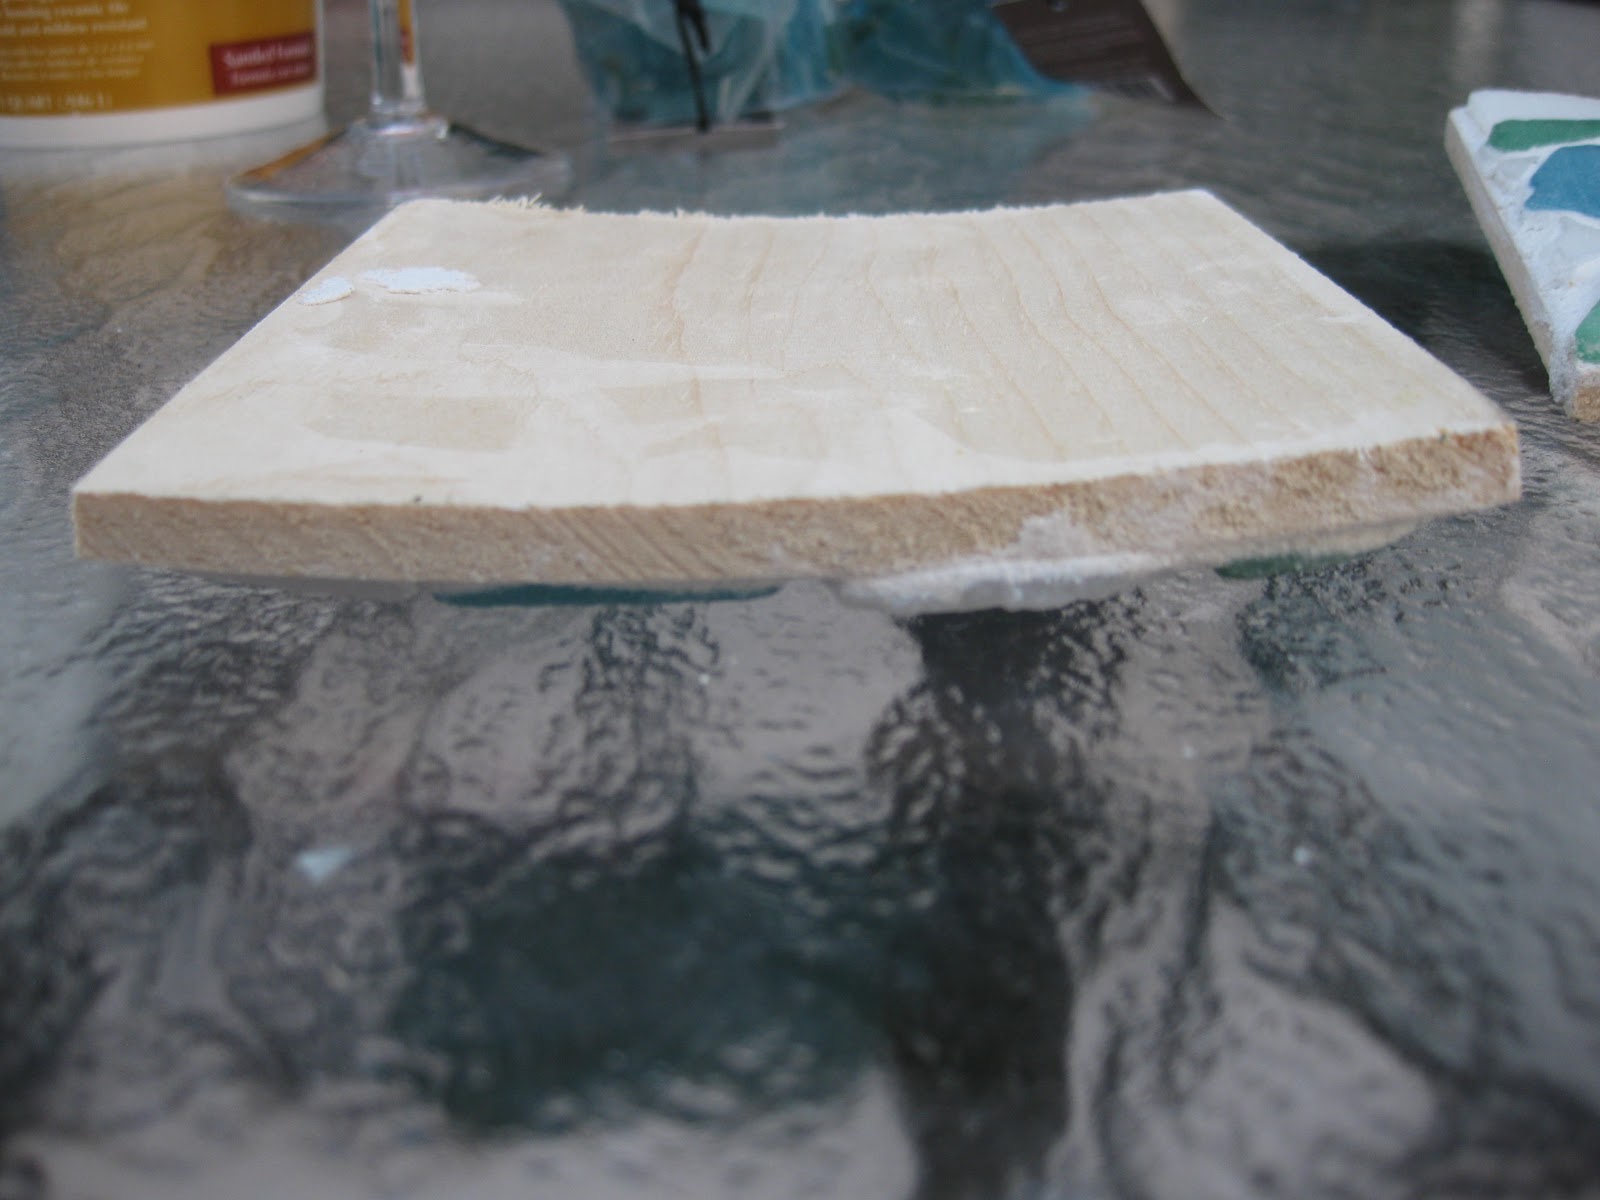
**If you use too much water to clean off the grout the wood will get soft and bend.....
I found out the hard way -_-


Hope you enjoyed this fun tutorial & if you try it out please let me know how it worked for you =]
** I saw on Pinterest that this was pinned a few times =] This makes me so happy that you all like or have tried this DIY! as I was reading I saw that someone mentioned using Cork (thank you!) I would definitely try that instead of wood so it won't bend on you! Let me know how it works!
xoxo!
L
They are so stylish and I wish I have this kind of coaster for my collection of glassware. This project of yours is really impressive.
ReplyDeleteGlass Coasters
@ Ketz : Thank you so much! If you do try and make them let me know if you used the wood or cork squares! xox, L
Delete